
Tai toks žemės drėgmės matuoklis, kuris, kai žemė išdžiūna, sako "čirp!"
This is a plant watering alarm I've made. It's available for sale on wemakethings.net.
]]>
Tai toks žemės drėgmės matuoklis, kuris, kai žemė išdžiūna, sako "čirp!"
This is a plant watering alarm I've made. It's available for sale on wemakethings.net.
]]>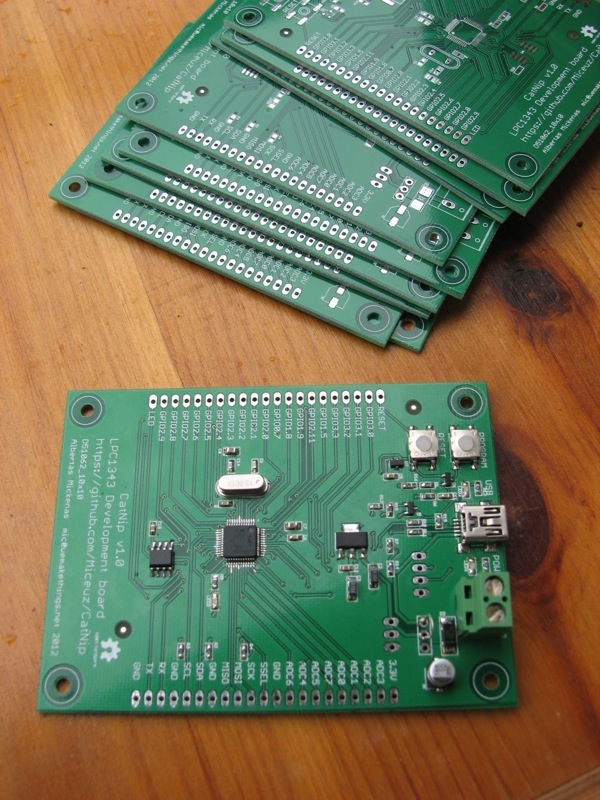
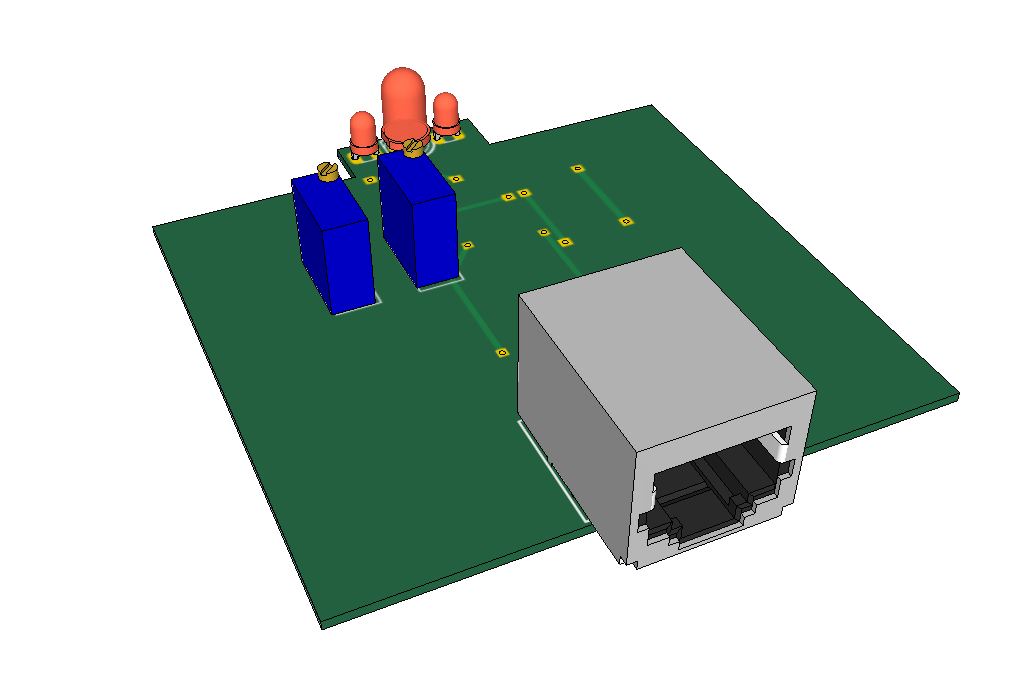

Kažkaip vakar įvaldžiau plokščių eksportą į 3D modelį. Tam padeda skriptas EagleUp.
Dar sužinojau apie standartą RS485 - geras dalykas šitas, sako, jei negreit, tai galima duomenis siųst kabeliu, kurio ilgis iki 300m. Iškart užsisakiau draiverių iš Linear Technology ir Maxim-IC.
Konkrečiai šitas prietaisas dviem fototranzistoriais nuiminės besisukančio ratuko greitį ir kryptį ir siųs pulsus mikrovaldikliui maždaug 30 metrų ilgio kabeliu. Kas faina, kad tuo pačiu kabeliu galima paduot ir maitinimą.
Žiūrėsim, kai dugną dėsim.
]]>i don't even...
]]>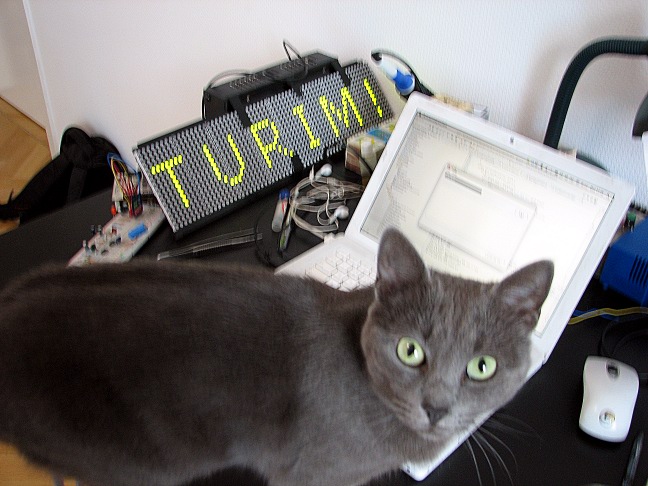
...just another chinese LED board. Modules are PH7.62, built based on 74HC245 as a buffer, 74HC595 as a shift register and 74HC138 as a decoder.
Modules have input pinout of A, B, C, D, STB, CLK, R, G, EN, GND, where A, B, C, D specifies a line (0 to 15); R,G,CLK,STB are two inputs for red and green leds of every pixel - clock R and G values, then pulse STB to latch them to outputs of 595. Line is turned on when EN is brought low. Oh yes, R and G inputs are inverted too - you have to clock 0 to turn leds on. Lines are driven by APM4953 dual P-channel mosfets which are too wimpy to light up full line of both leds for more than 0.3 sec.
I use LPC1343 to drive the modules and SD card to store the data. Data is uploaded via USB using a program written by me.
Contact me if you are interested in the details.
]]>
Well, not exactly accidentally. At first this fucked my brain: http://www.tuxgraphics.org/electronics/200707/bench-power-supply-unit.shtml; me, being a programmer by education and by practice, i was instantly fascinated by the idea - no analog electronics, microprocessors are fast, they have Analog to Digital converters, they have PWM and means to make cheap Digital to Analog converters, it's wonderful, i can program my power supply (and believe me, i know how to program). The deeper i went, the less i liked the idea.
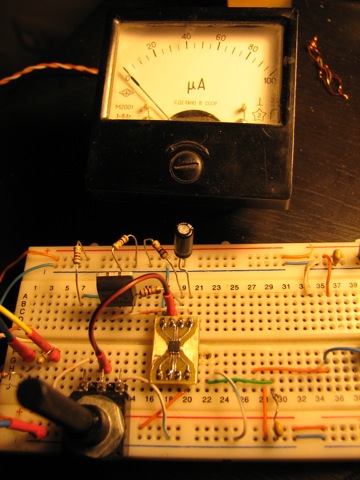
At first i've made a small prototype - an arduino charging a NiCad battery. It worked, but all i can say - default 256 bit PWM resolution on arduino totally sucks - there was no way to set the current on the exact level i wanted it to be. And 10 bit ADC sucks for the task too. OK, let's get beefier hardware - i've made myself ARM LPC1343 devboard from microbuilder.eu the chip rocks, (the devboard has it's own sucking, but it does not matter here), and i've got several external DAC and ADC chips as free samples from several suppliers.
I've decided to change the tuxgraphics design - they use BJT transistors and that sucks, as the total current, the power supply can ouput, depends on particular transistor configuration and there are limitations. That's becaus BJTs are current controlled devices and micocontroller can not put out enough current and you have to chain them and calculate impedances, etc. MOSFETs are voltage controlled devices, low pass filtered PWM is a voltage, put a mosfet on filtered PWM and you're golden. You wish. It appears, MOSFETs have a very narrow voltage range from threshhold to saturation. For any MOSFET you choose it's about 1.5volts. That's too narrow! I have to scale / cram my DAC output to this 1.5 and then it varies on temperature. There are MOSFETs with wide ohmic region, but they are used in audio and rare and expensive. That sucks. Besides PWM DAC sucks - i checked it on the scope. It's either noisy either slow. BTW, i was able to control the mosfet via PWM directly, event shorted them out and let them melt my breadboard, but the feeling was that i'm not doing it right...
Yeah, slow. If you look at LM317 transient response graph - it recovers in somewhat 5 microseconds. I'd have to cash out big time for DAC and ADC chips to try to achieve something like that in microcontroller... and fail... At that time i've already known enought about opamps to think, wait, what if i set a control voltage in one of opamps inputs and put it's output to gate of mosfet and get a feedback from source of mosfet... wait, whats the block diagram for a linear regulator? oh well...
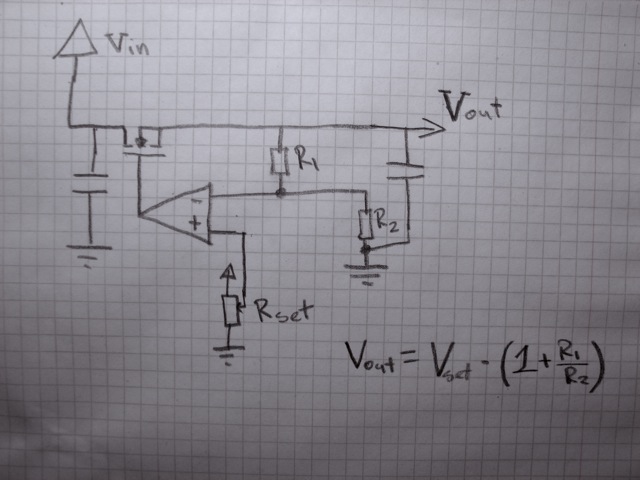
to be continued...
]]>
Using nichrome wire I've made a cat heating pad. 3m of wire ~130 ohms.
]]>The story began when my friend offered me to take a part in building a throwing wheel for another friend of ours. I'm fairly new to electronics and have never built any high power device, so it was a challenge for me.
Then I've got a comment to one of my posts that was posted on hackaday.com - it was from Ryan Gibson, SEO consultant at farnell.com. After some googling I've found many similar comments on other blogs, it sounded like some spam scheme, but I responded anyway. And it seems that Ryan Gibson is legit! I got an offer from farnell.com to order
some free stuff in exchange for a blog post. So here it goes :)
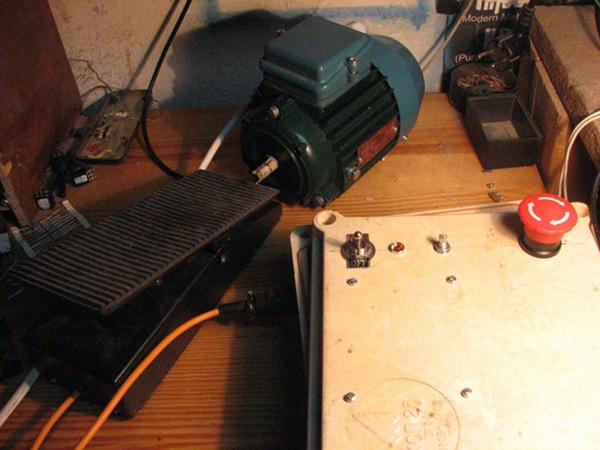
I've got MC3PHAC as a controller and IRAMS06UP60A as a power stage from farnell.com.
The driver is straight forward - MC3PHAC generates six PWM channels that are fed to IRAMS06UP60A which uses PWM to open and close three IGBT half bridges to drive three phases of motor. If you are interested, there are vast amounts of pages that explain how all this works and how AC induction motor works. MC3PHAC has options to select frequency of mains power for which the motor was built, PWM frequency, dead time, PWM polarity, acceleration and speed. IRAMS06UP60A is a power stage, it has thermal shutdown protection built in, the same pin of it can be used for over-current protection shutdown.
After more googling i've found out that it's fairly easy to toast a power stage in the same combination of controller and power driver as mine so i put some effort in following datasheets and application notes as closely as possible, so here goes my insights:
- add pullups or pulldowns (depending of PWM polarity of power stage inputs) to outputs of controller so inputs of power stage are never left floating.
- calculate size and power capabilities of DC bus decoupling capacitor. This is a good paper explaining everything about the matter: Selecting Film Bus Link Capacitors
For High Performance Inverter Applications
- if motor in your application can work as a voltage generating device, add a DC bus over voltage protection (MC3PHAC has a DC bus voltage sense pin and Rbrake pin for that) -- add a resistor divider to scale DC bus voltage down to level acceptable by controller. Or you could use a varistor across DC bus.
- put in EMI filters. I used this app note: Design of the Inverter Output Filter for Motor
Drives with IRAMS Power Modules
- add overcurrent protection. Because the power of the motor i was using is relatively low, and i was already eager to build something, i've omited low side current sensing opamp over shunt resistor leaving that for v2 or the driver.
- MC3PHAC is VERY picky about clock source, i've tried zillion crystal and load cap combinations and couldn't get it to work untill i got an exact crystal resonator as specified in datasheet.
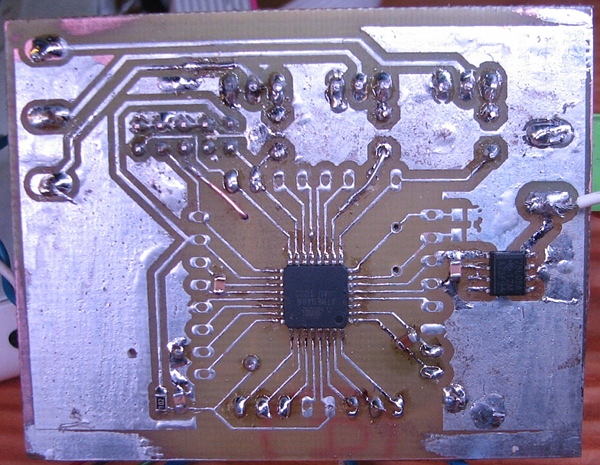
The driver board:
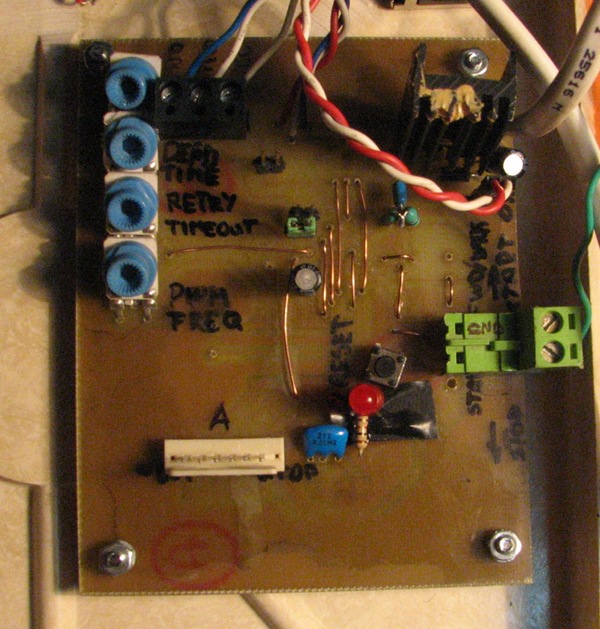
The power stage board
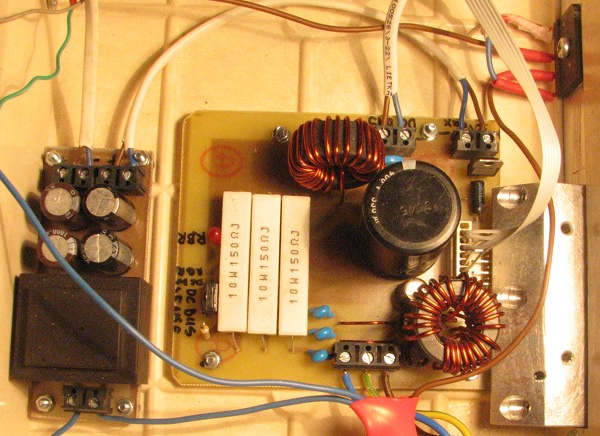
The whole setup view:
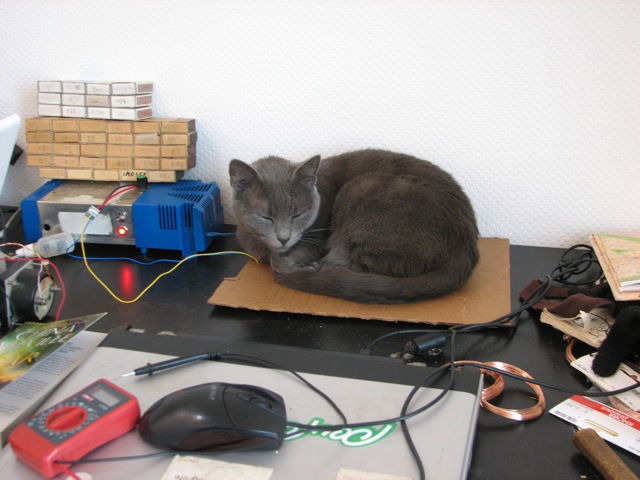
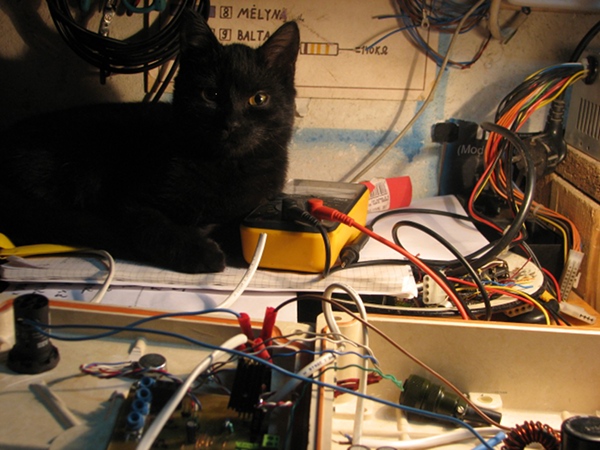
Zalgo cat is helping me to debug:
The eagle files to download:
Download controller schematics
Download controller pcb
Download power stage schematics
Download poer stage pcb
Download power source schematics
Download power source pcb
Shematics and PCB in png format:
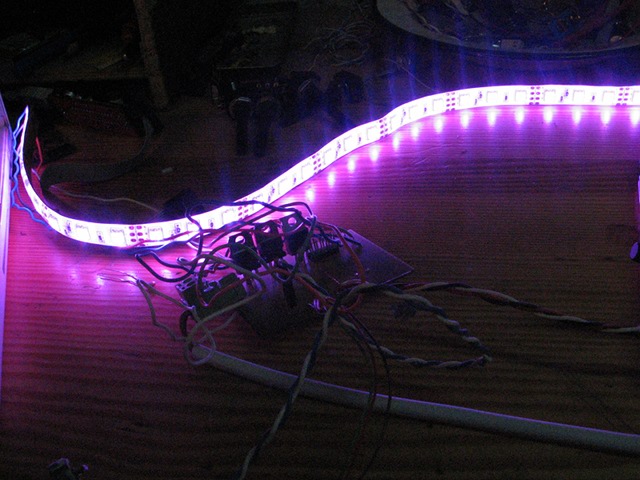
]]>The dimmer is based on an Atmega88 MCU. I could have used three pots,
but I wanted to reduce the control count to the minimum and try some
new things out. The leds are controlled by three PWM channels, value
from the pot is read by ADC channel.
The light has three controls - a rotary encoder for color, a pot for
brightness and a pushbutton to turn on/turn off the white light.
Lessons learned:
- Put 100nf / 10uf caps across pushbuttons/rotary encoders to debounce them
- When decoding ADC result read ADCL before ADCH
- Make thicker traces when you can
You can see I had some traces fall off when soldering and some ad hoc
capacitor bonsai as I forgot to include them when designing.
Transistors are TIP110 because I had them in the bin.
Download schematics
Download pcb layout
Download firmware

The case for the prototype is finished. Leds and a button are connected to attiny2313 and some blinkenlights program is running.
]]>
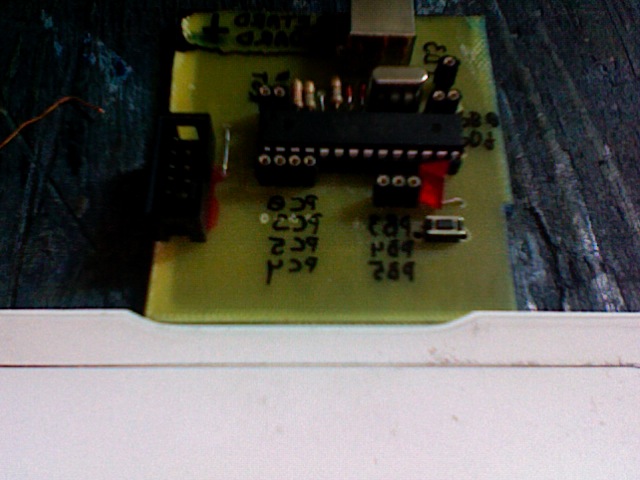
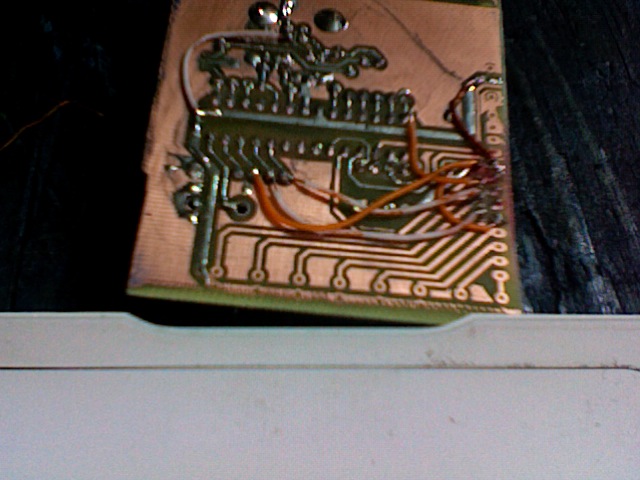
shitty photo is shitty
The pcb is just a barebones attiny2313 breakout with place for crystal and caps, decoupling cap, reset pullup and ISP header.
Eagle files are here: shematic, pcb and postscript.
]]>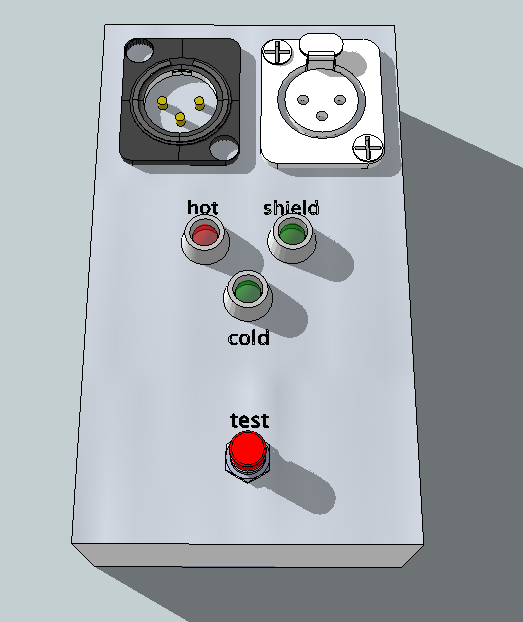
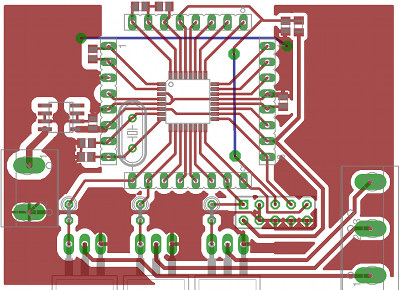
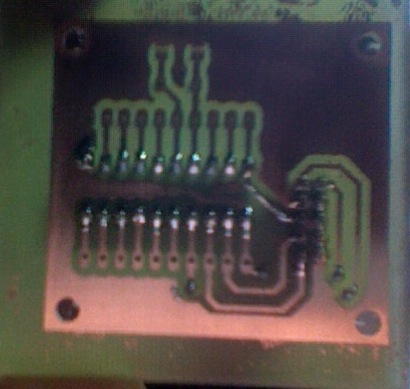
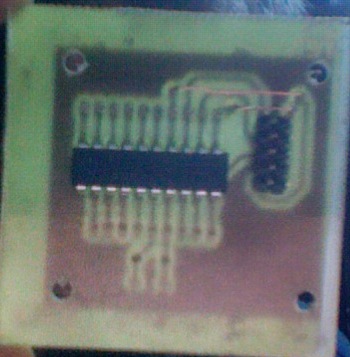
The aim the project is to build a functional XLR cable tester. The status is displayed by three RGB leds. The faulty pins are indicated by red leds - if pin is not connected the led is lit up, if two or more pins are shorted, leds for shorted leds are lit up.
The device will support "heisenbug" testing mode, when cable is connected and wiggled testing for cold solder joints or breaks in the cable.
The device will be powered by three AA batteries.
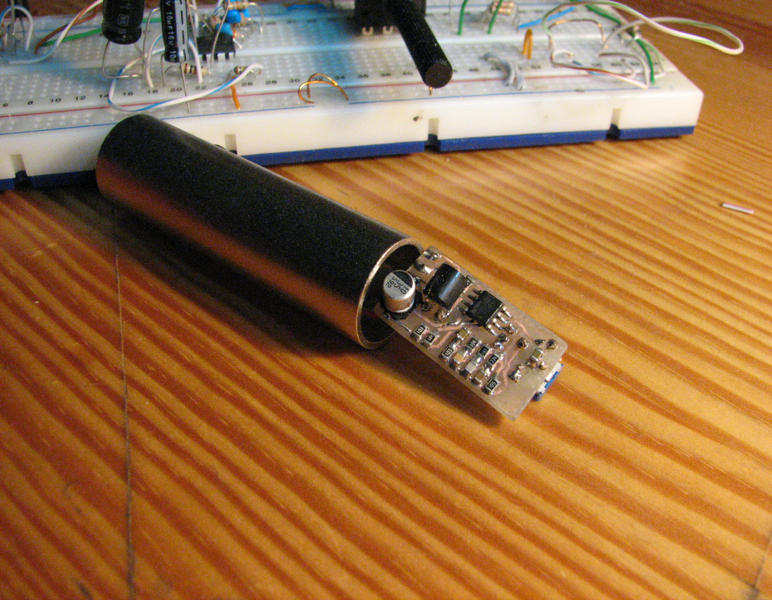
]]>Pratimo tikslas buvo paimti schemą, sutalpinti ją į male-to-male XLR perėjimą ir naudotis mikšerinio pulto duodamu phantom power. Prietaisas turėjo gautis paprastas ir elegantiškas - įkiši ir šnypščia, jokių jungiklių, baterijų ir priežiūros.
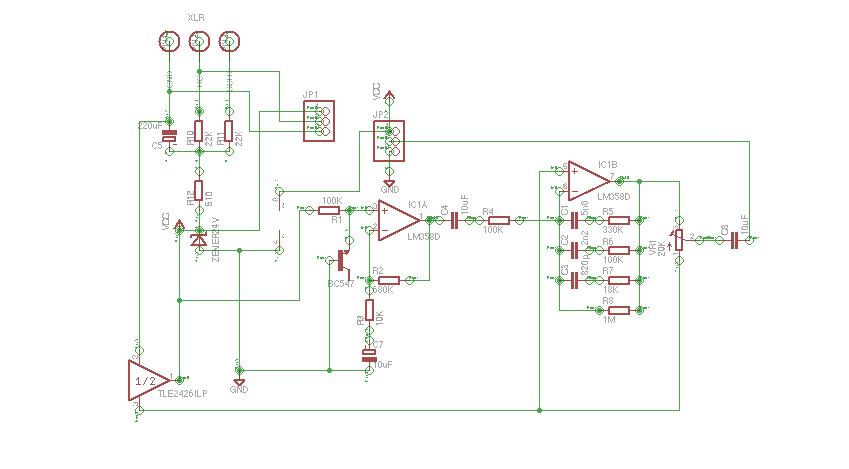
Prietaisas veikia paprastai - tokiu iškreiptu būdu pajungtas tranzistorius ima skleisti baltą triukšmą, kuris yra pastiprinamas ir nufiltruojamas taip, kad per oktavą intensyvumas kristų 3dB.
Pagrindinis uždavinys buvo susitvarkyti su maitinimu - originali schema yra suprojektuota veikti nuo dviejų 9V baterijų, nieko nežinojau nei apie phantom power, nei kaip per XLRą atiduot signalą iš jo imant mėsą. Taigi, protingų žmonių paprotintas, panaudojau paprastą zenerio pagrindu veikiantį įtampos reguliatorių ir TLE2426 virtualios žemės generatorių.
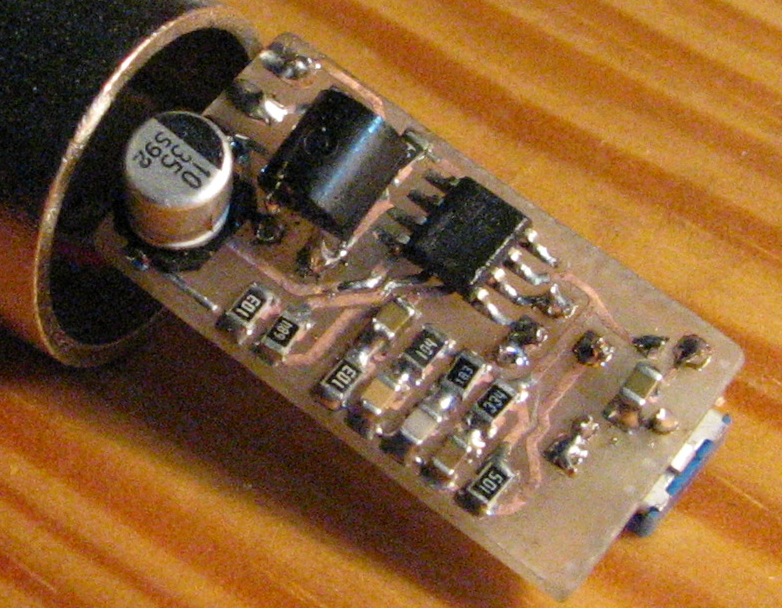
Prietaisas turi esminę ydą - noizas eina tik per HOT liniją, t.y. signalas nėra balansuojamas, kaip kad turi būti per XLR jungiamame prietaise, be to, skiriasi HOT ir COLD linijų impedansas. Taip yra todėl, kad aš vis dar nesulaukiau balansuojačio opampo DRV134 free sample iš TI, nenorėjau jo pirkti už astronominę 25Lt kainą ir neturėjau iš kur išsilupt.
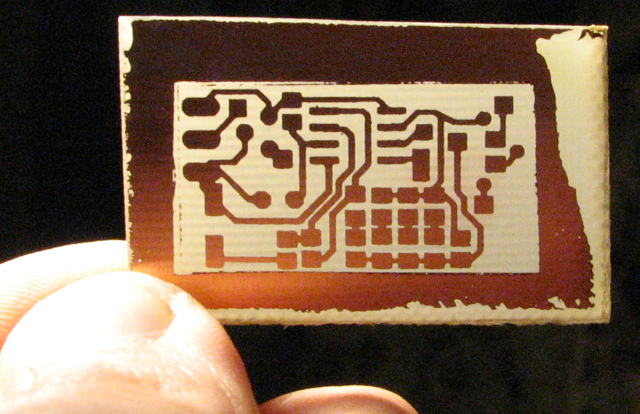
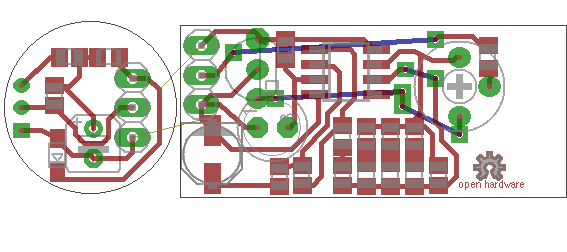
Detalės lituotos lituokliu, nes pagailėjau pinigų pastai. Viską sulitavau greičiau, nei būčiau gręžęs skyles ir kaišiojęs pro jas laidelius. Schema iš Elliott Sound Products, PCB - mano.
-----------------------------[ENGRISH]------------------------------------
This is a pink noise generator for audio testing. Pink noise is a special kind of noise where higher frequencies are attenuated to match the frequence sensivity of human ear. The device is fed by phantom power delivered by audio mixer via XLR connection.
I've started with a design by Elliott Sound Products and had to solve the phantom power issues - the original design includes two 9V batteries - that would make a device too chunky and heavy for that simple purpose.
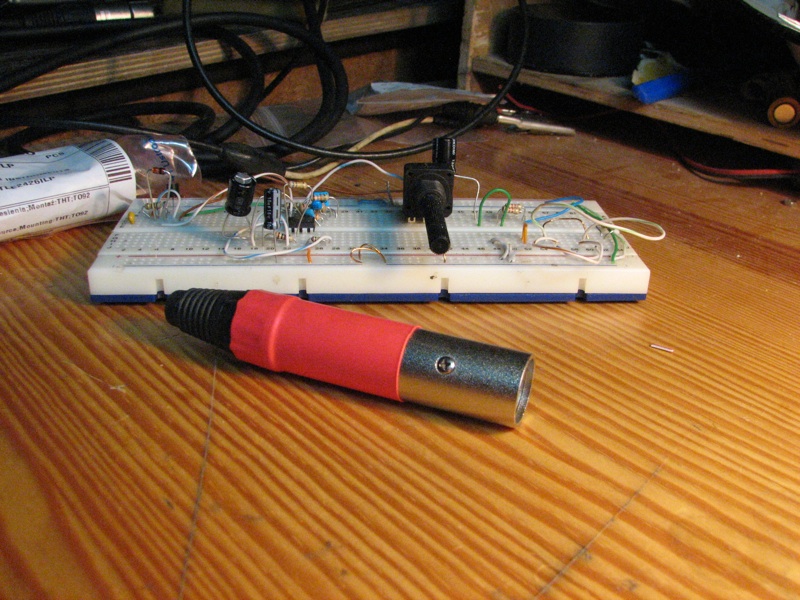
The main task was to fit everything inside XLR male-to-male connector i had lying in the junk pile - that would make the device really elegant - you just plug it, switch on the phantom and make some noise.
Phantom power is rated at +48V, i've used a simple zener voltage regulator to get +24V and a TLE2426 rail splitter to get +-12V and virtual ground.
The transistor is connected so it's emitter-base junction is reverse biased - this creates white noise, that is amplified and filtered to get 3db power drop per octave.
My design has a major flaw - the output signal is not balanced and the impedance of HOT and COLD XLR signals is not matched. That is some work for future when i either get some DRV134 samples from TI or find somewhere to desolder it.
This was my first SMD design. I would encourage every elecronics noob (as i'm myself) to try working with SMD - it's not complicated at all, yelds smaller PCBs and can be soldered much faster than thru-hole designs. I've soldered everything by hand using soldering iron, my tips would be:
- use fine soldering iron tip
- clean the iron tip frequently
- add more flux
- use thin soldering wire
- don't use too much solder
The original design is by Elliott Sound Products, PCB layout is by me, you can find Eagle files for download below.